AI resources
Integration configuration
Once the Mercado Pago plugin for WooCommerce is installed, it needs to be configured. Follow these steps to do so:
- Access your WordPress account.
- Go to your account dashboard and click on Plugins > Installed Plugins.
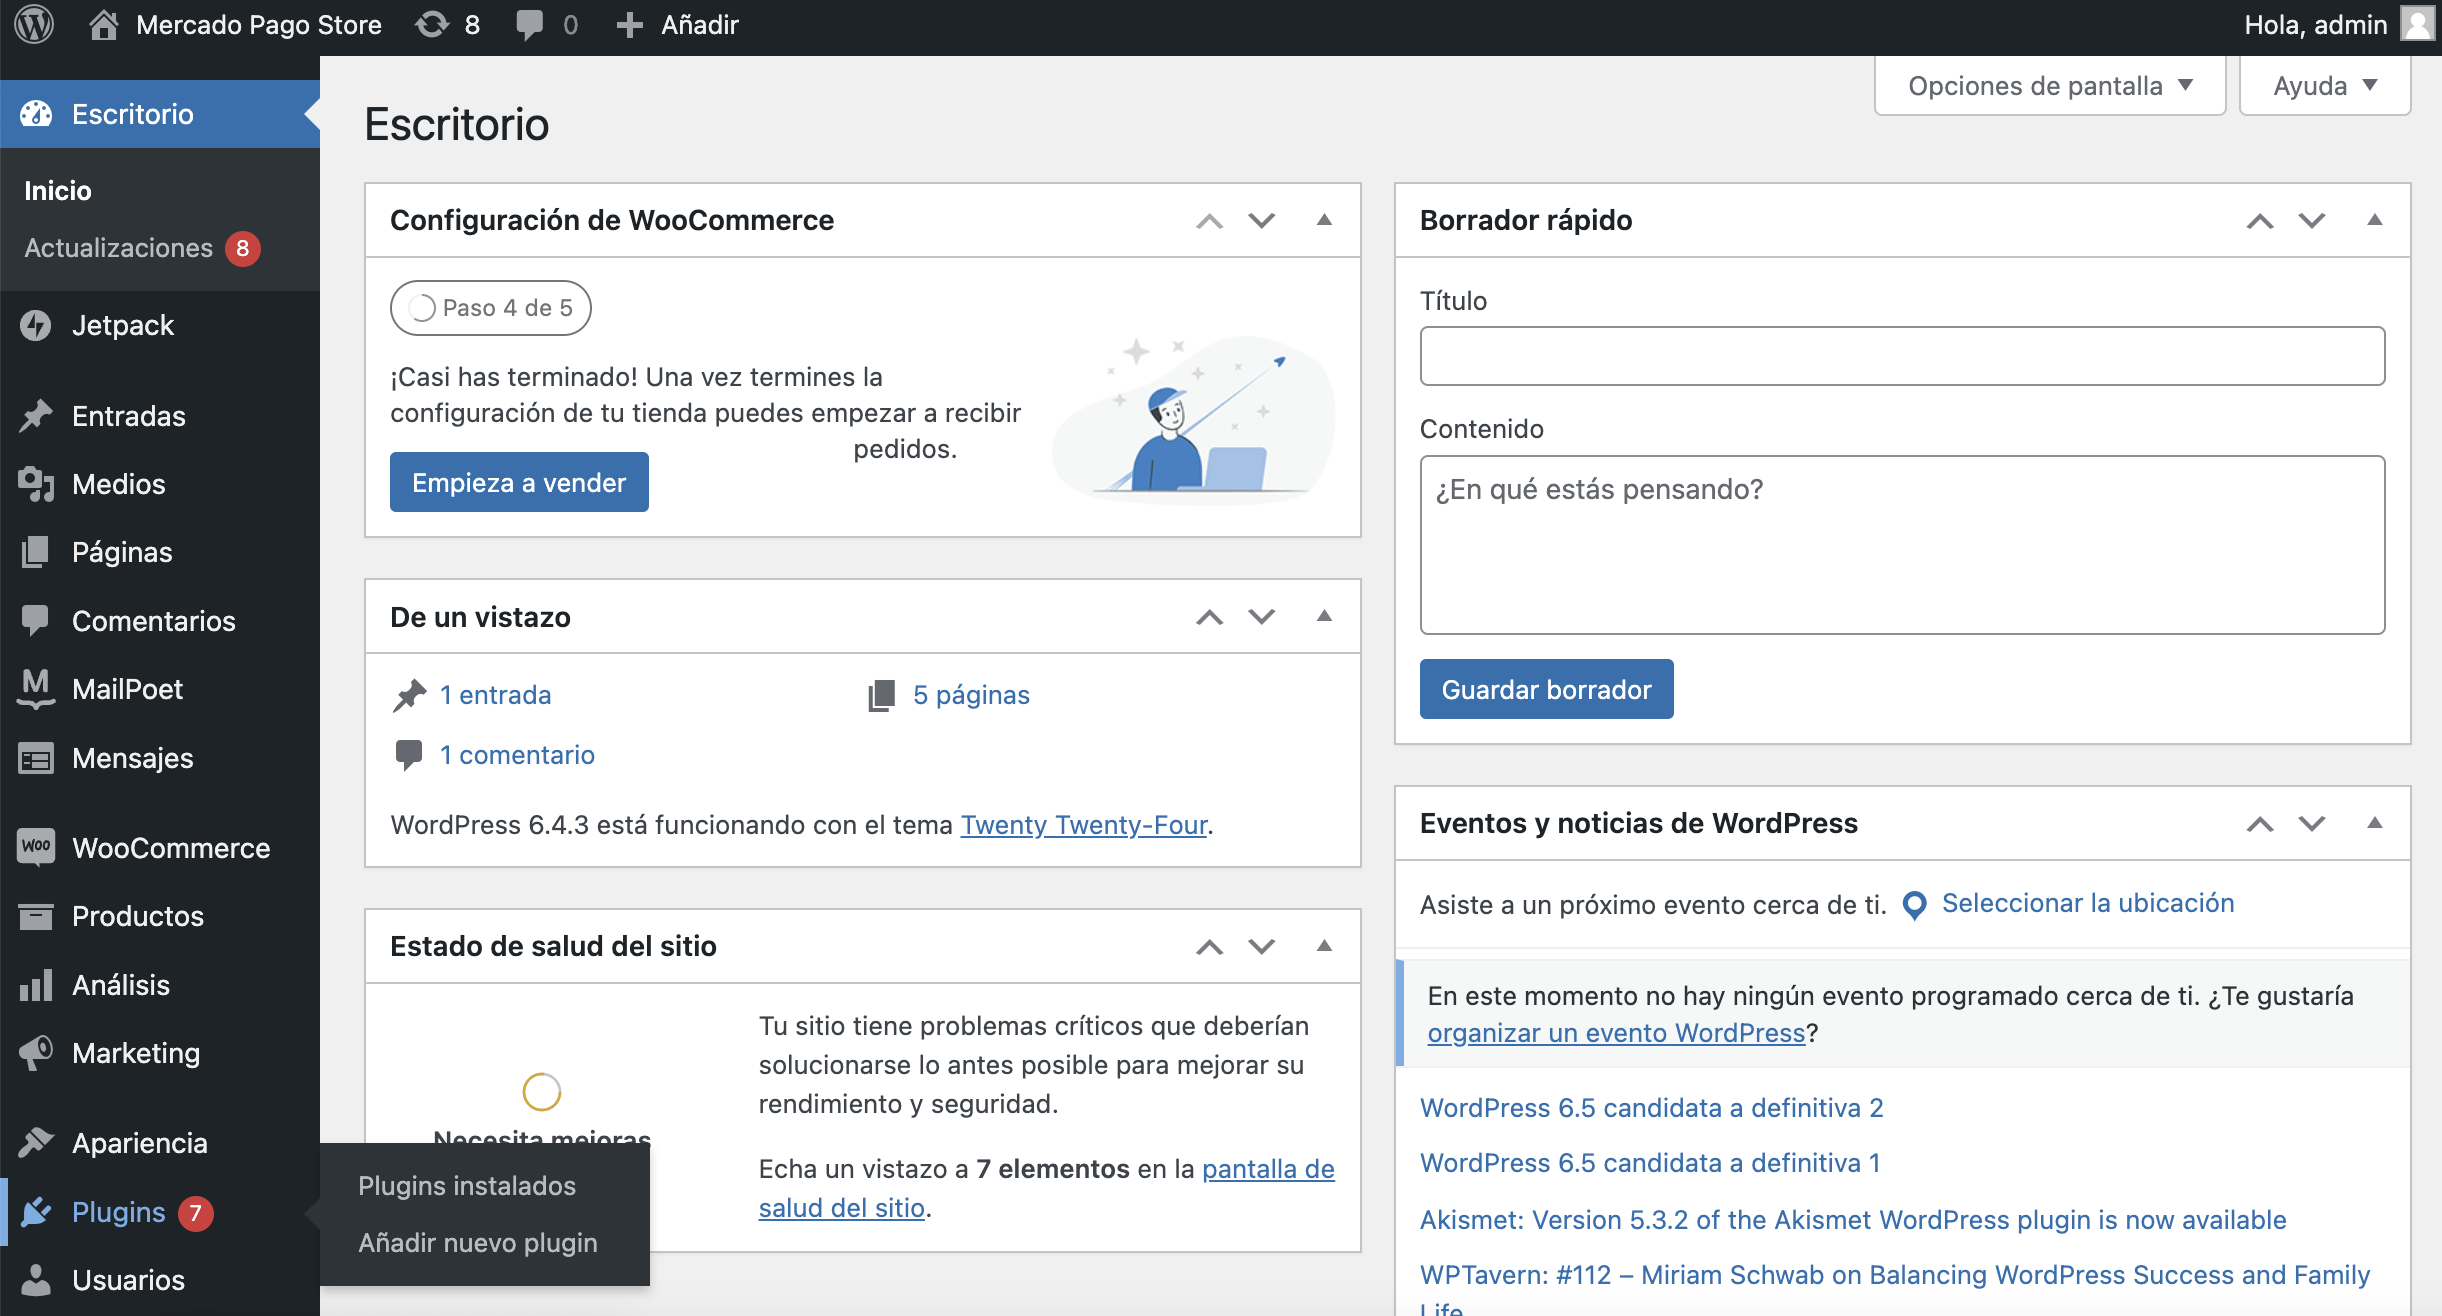
- Search for Mercado Pago in the search bar on the right.
- The search result will display the Mercado Pago plugin. Click on Configure plugin.

Next, we'll explain how to configure each item of the plugin.
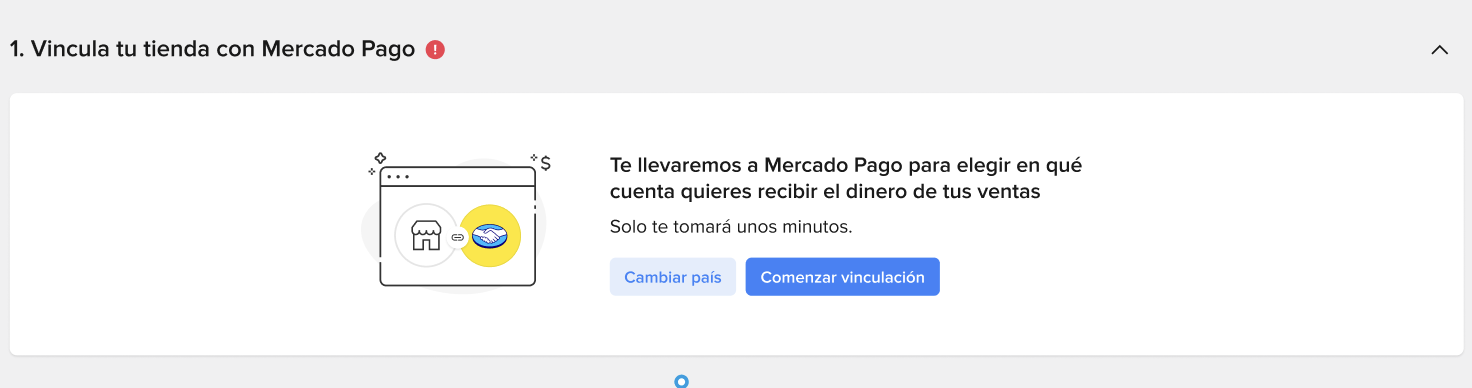
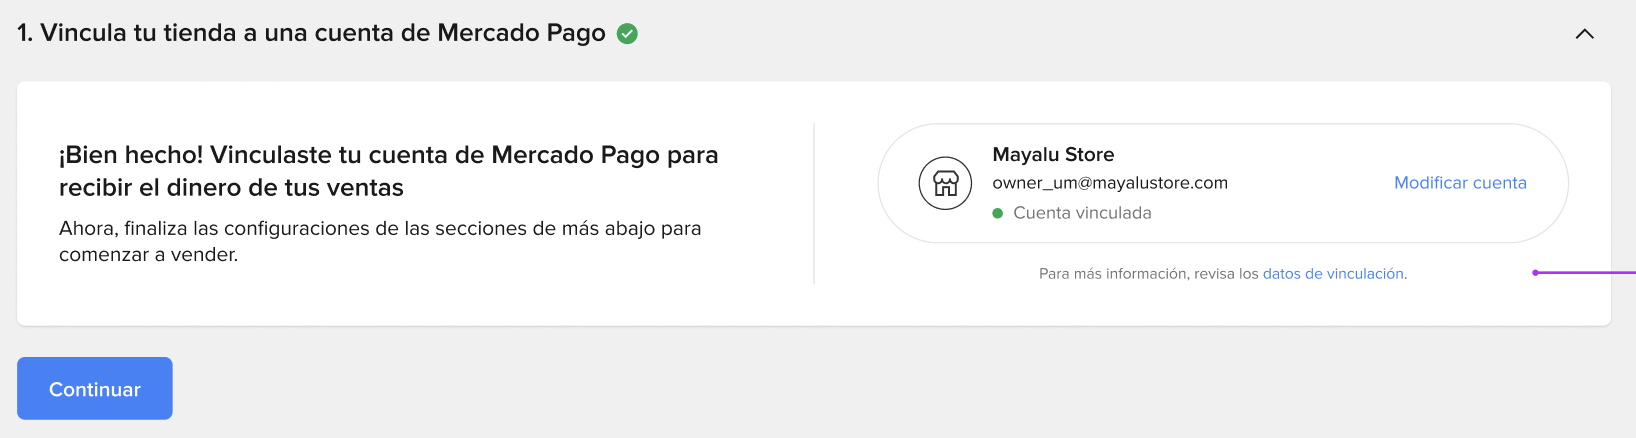
Integrate store with Mercado Pago
Connect your Mercado Pago account to your store to start receiving payments for your sales. Follow the steps below to complete the integration.
- From the dropdown menu, choose the country where your store is located.

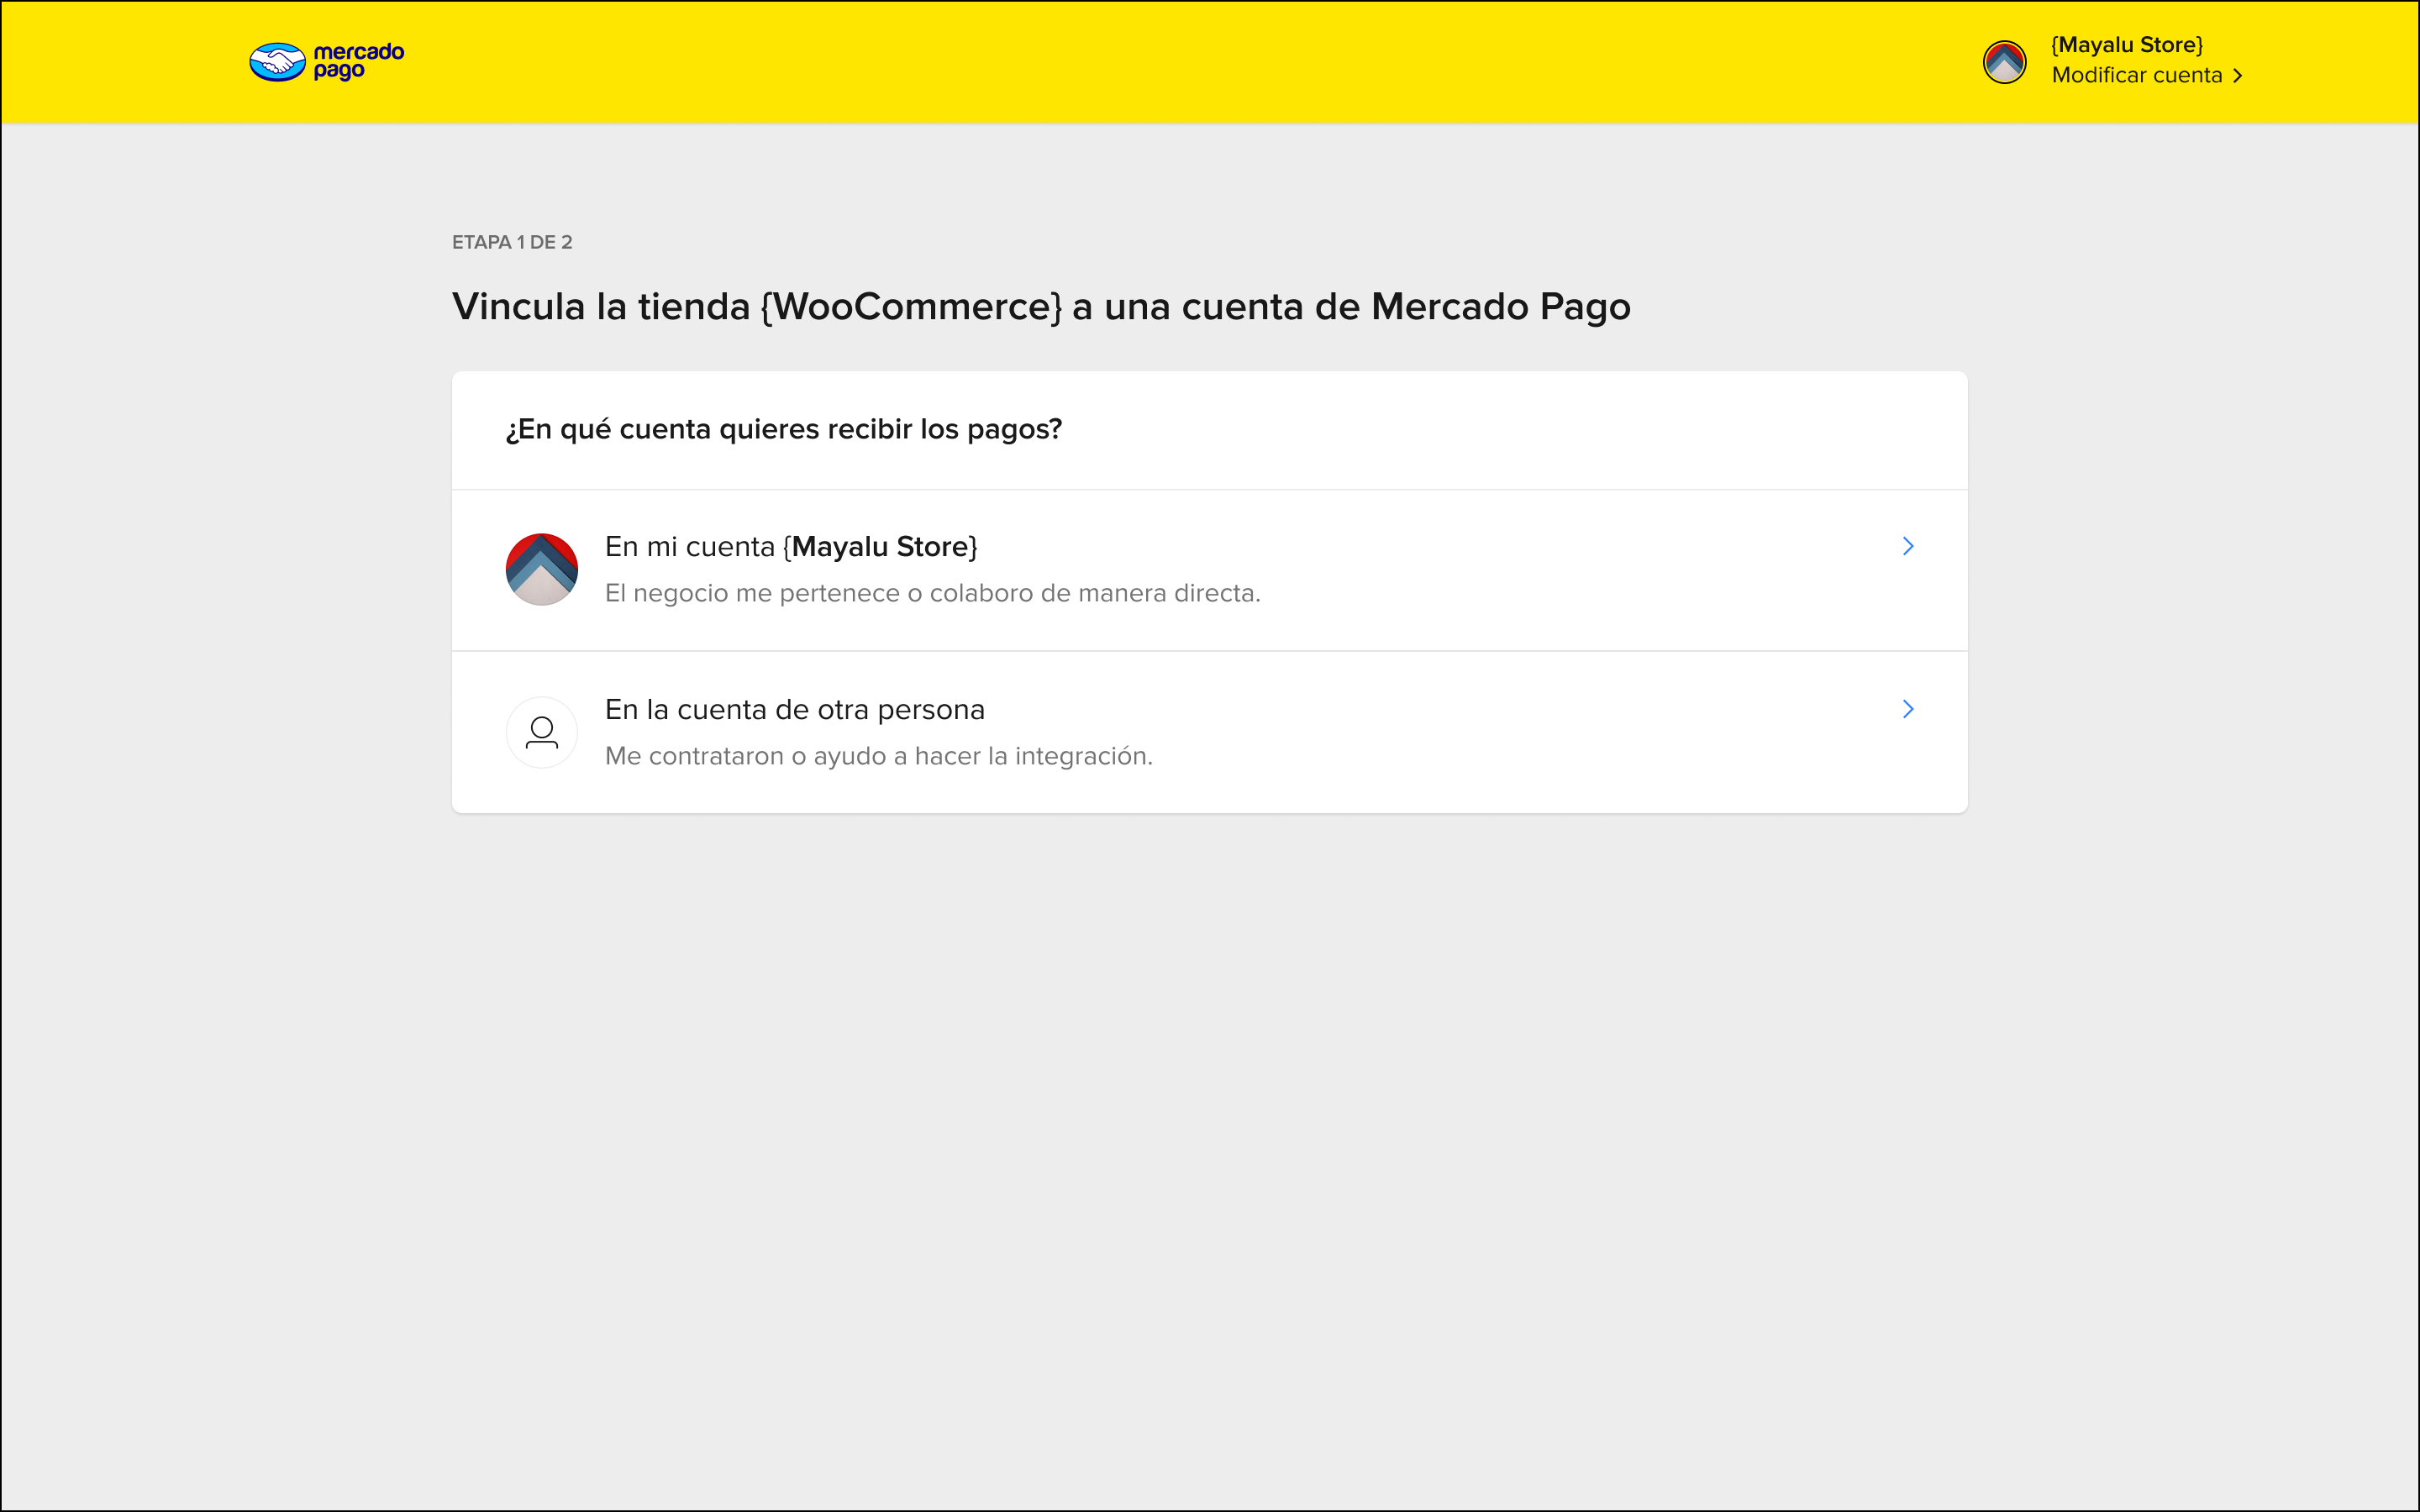
- Click on Start linking to be redirected to Mercado Pago to select the account where you want to receive payments.
- If you are already logged in, this step will be automatically skipped. Otherwise, enter your email and password to log in and proceed with the linking process.

- In the new tab that opens, select the account to receive payments, whether it's yours or someone else's.
- Please wait until the linking process is completed. This may take a few seconds.
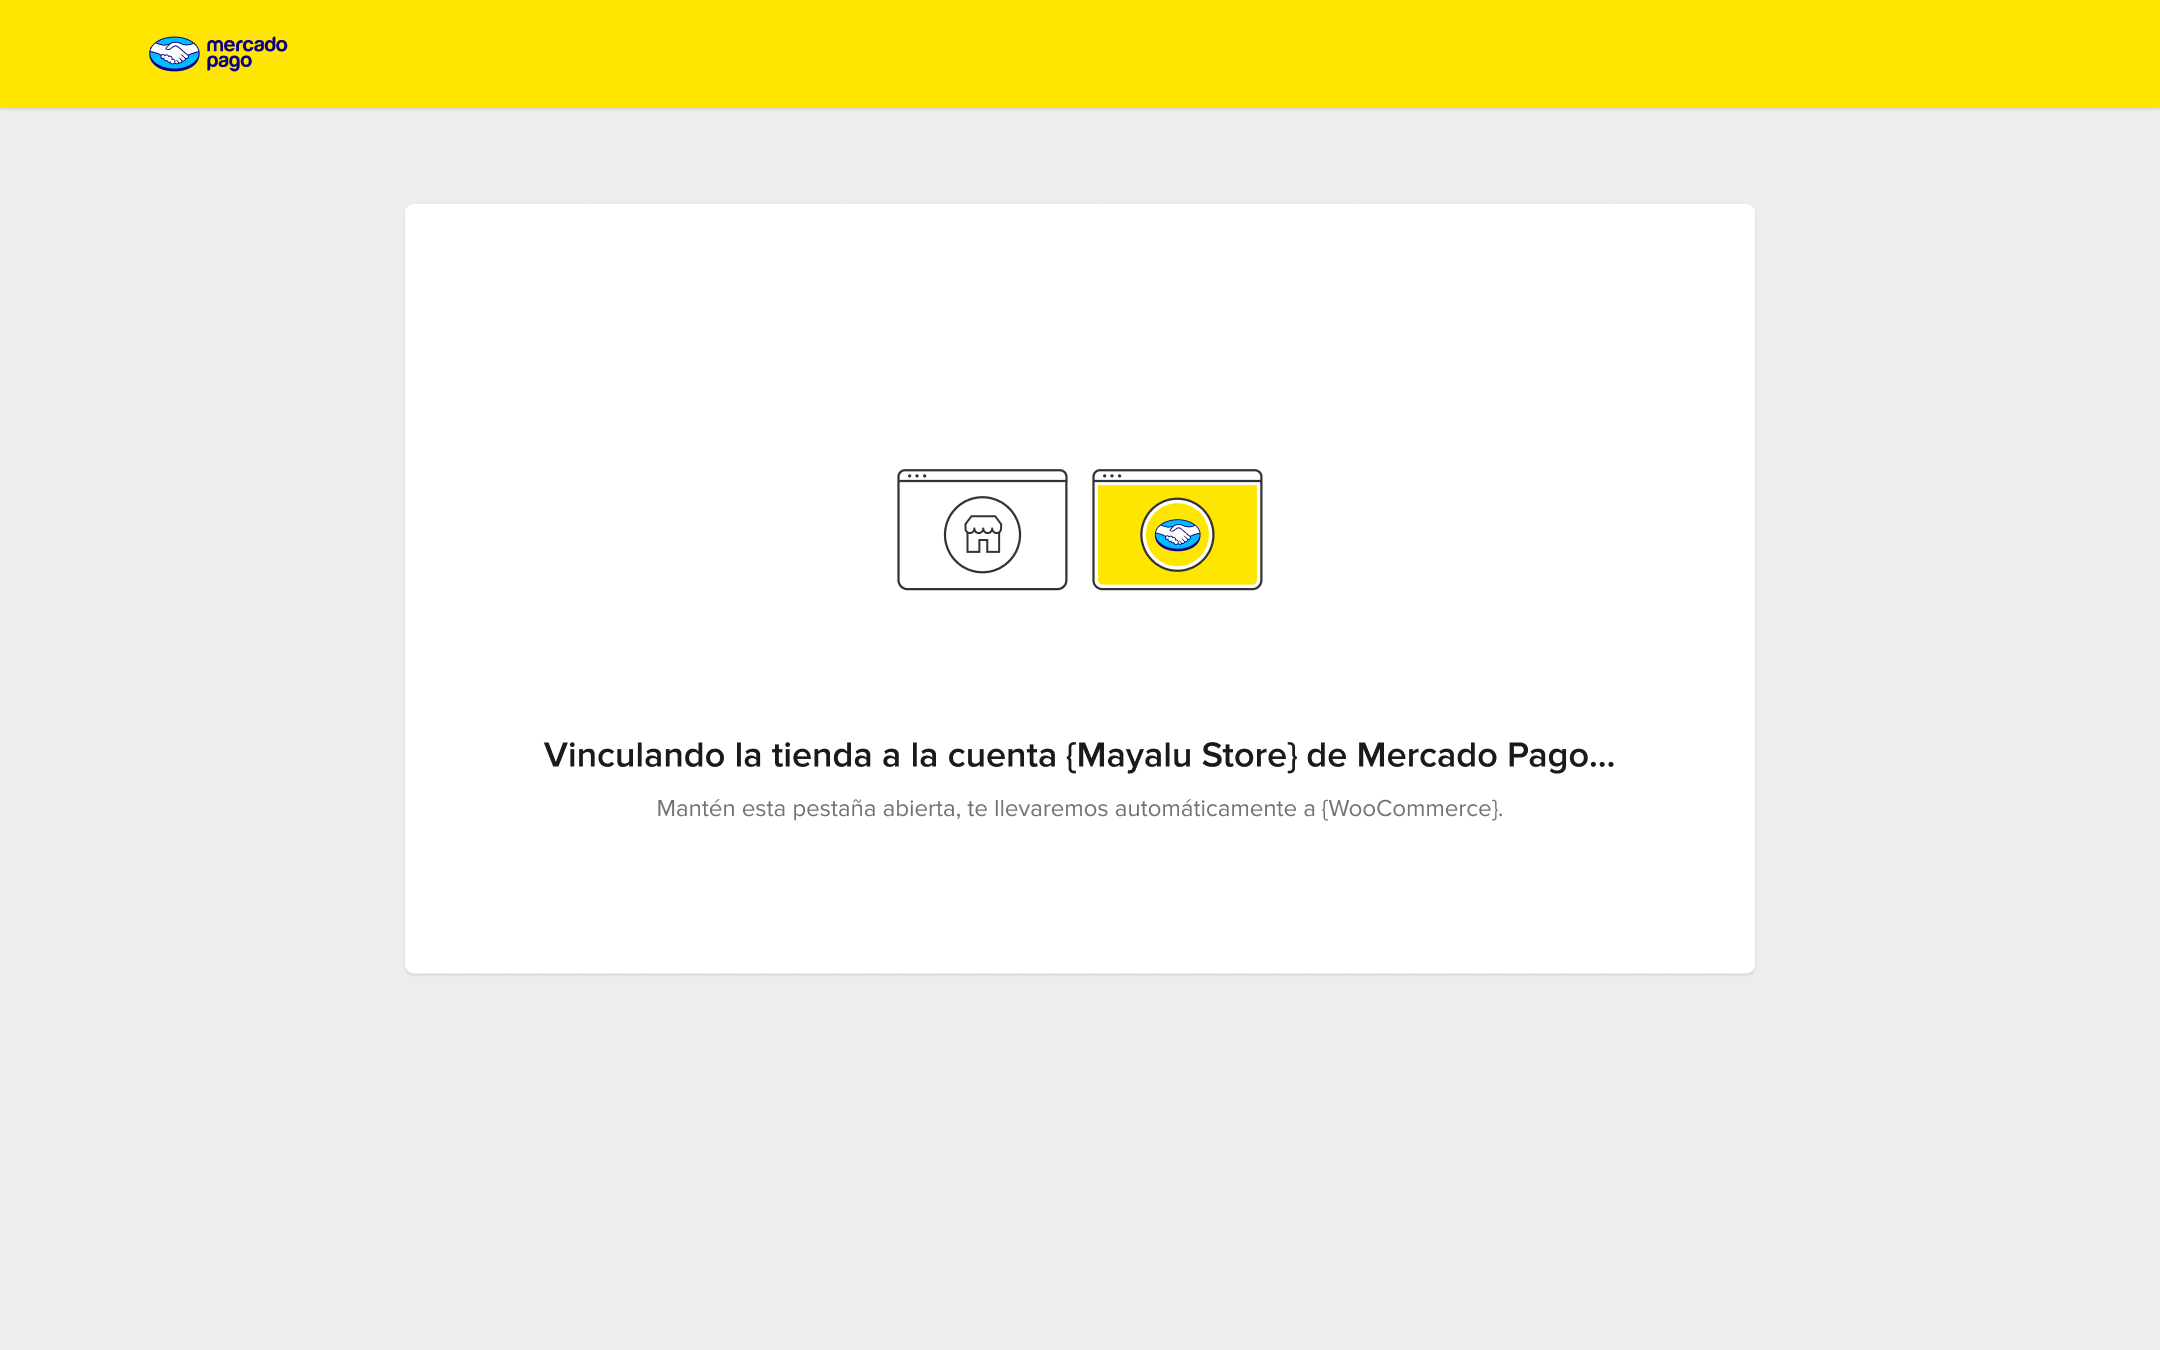
- The process is finalized. You can now proceed to configure and customize your store.
Customize business
In the 2. Customize your store information section, you have the possibility to provide specific details about your store, providing a more comprehensive experience for customers with additional information.
- Store name on customer invoices: Enter your store name. If this field is empty, the customer's purchase will be identified as "Mercado Pago" on the invoice.
- Identification in Mercado Pago Activities: In Mercado Pago Activities, you will see the term entered in this field before the order number.
- Store category: Enter the category of your store's products. If you can't find a suitable category, select "Other categories".
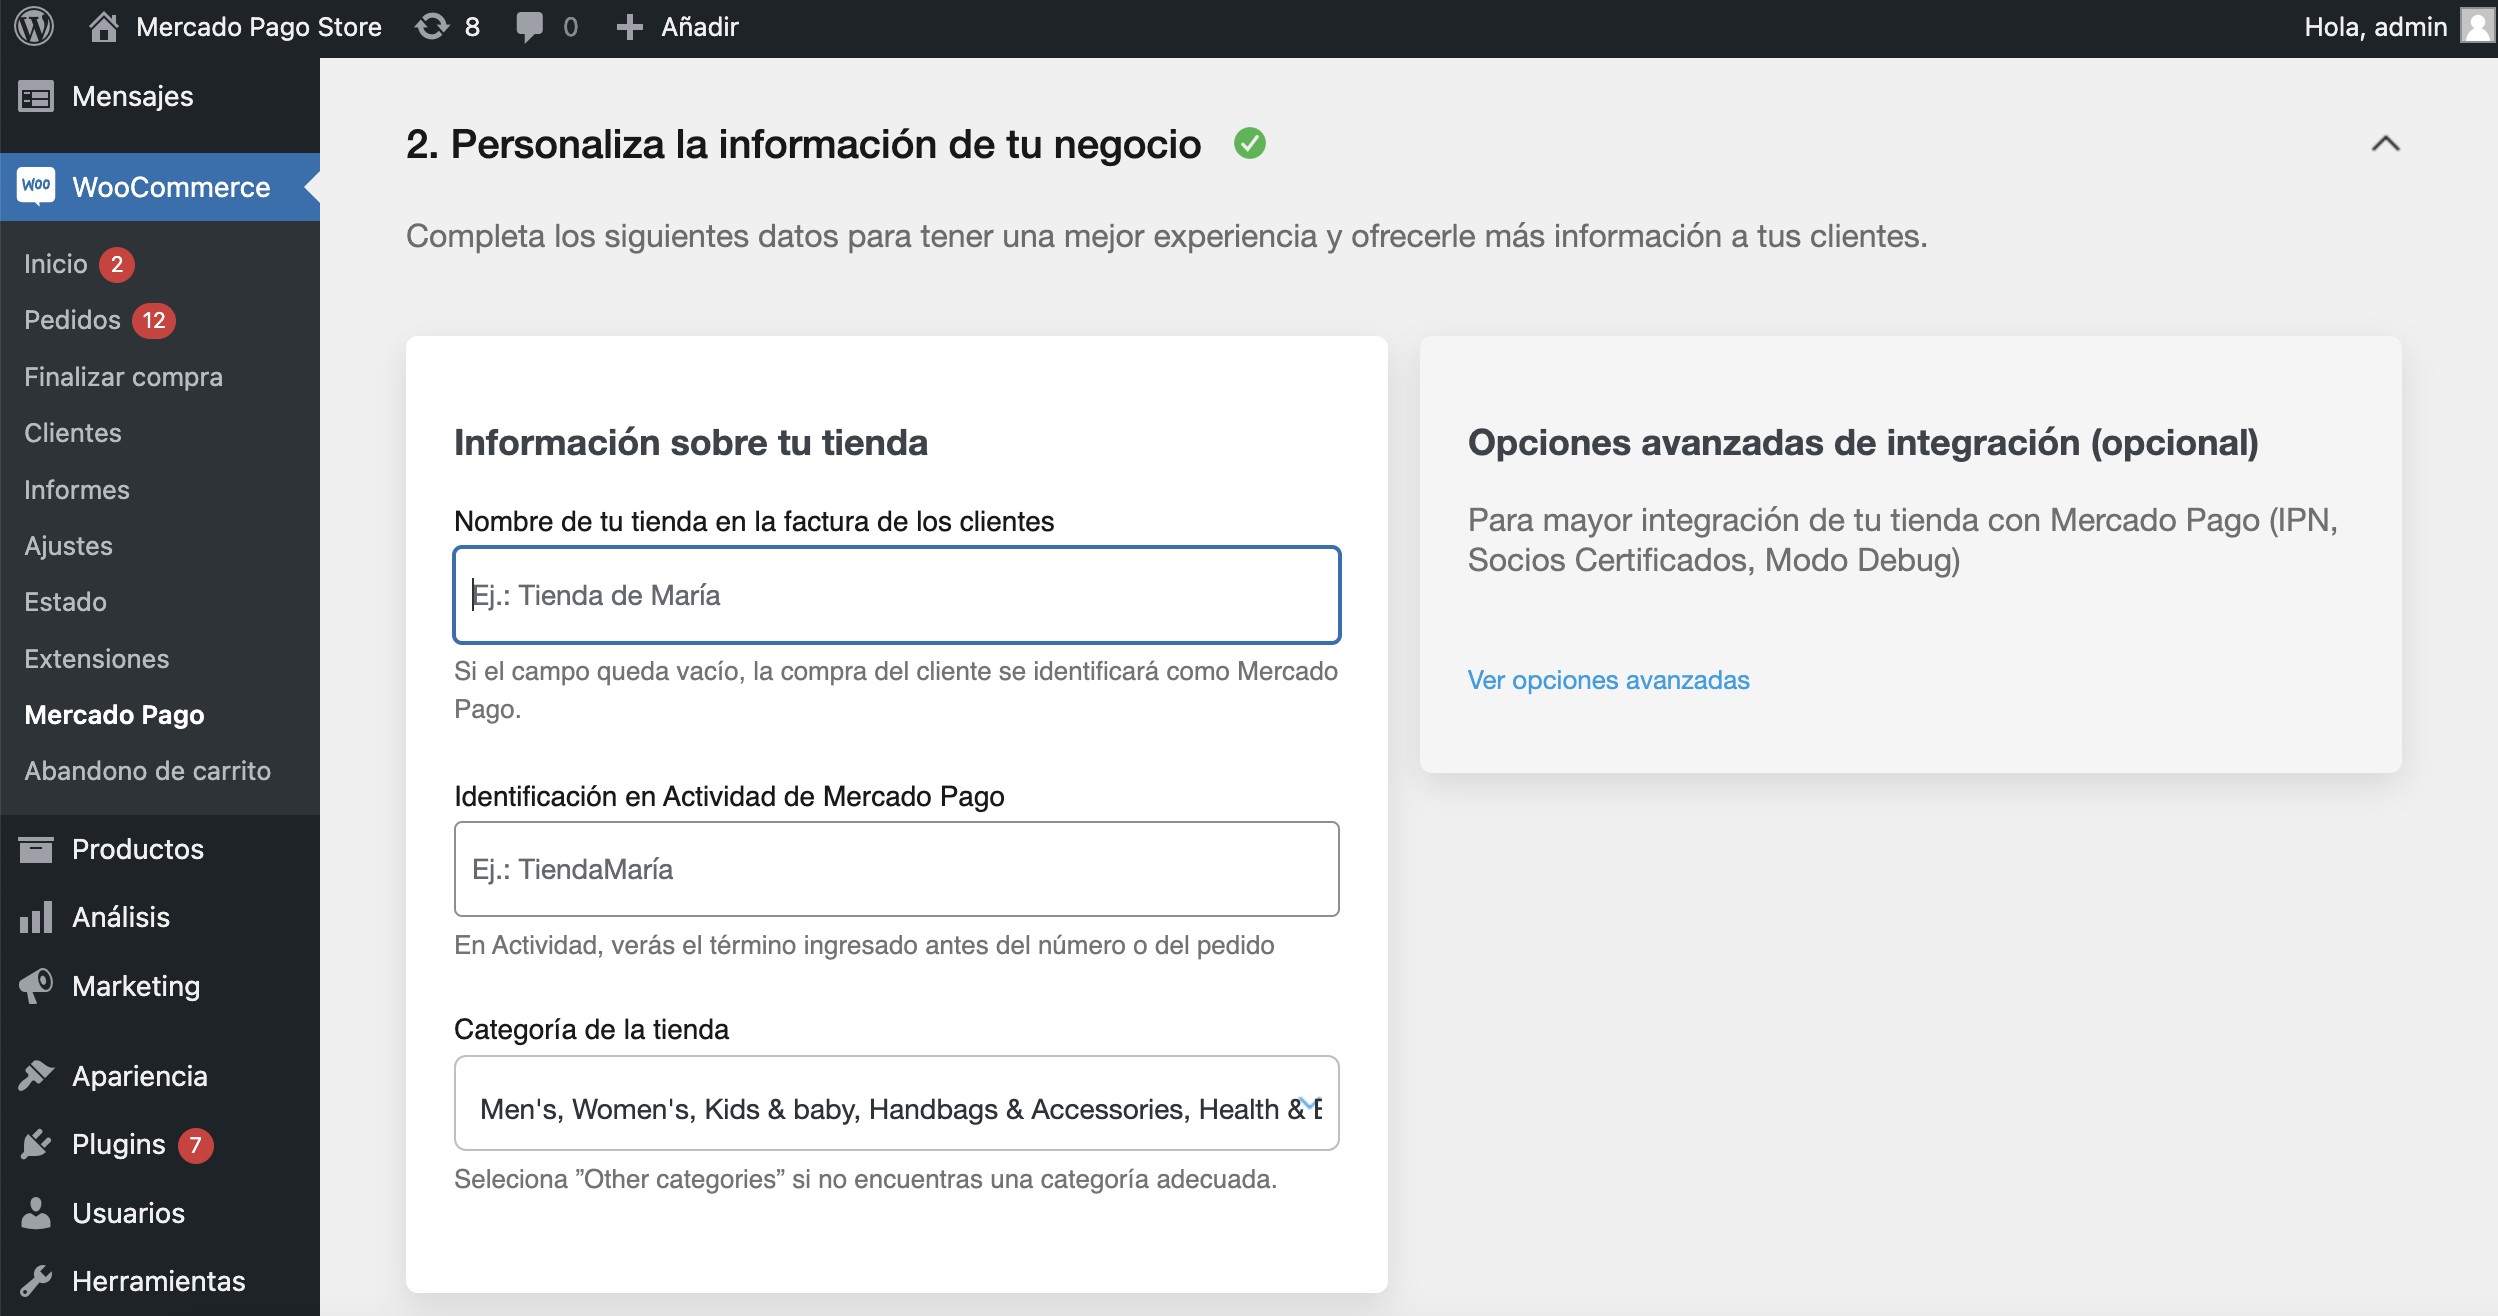
Advanced options
In Advanced integration options, click on View advanced options and configure the options related to your store's integration with Mercado Pago.
- IPN URL: Enter the URL to receive payment notifications.
- Integrator ID: Enter your partner
integrator_idfrom the <dev>program of Mercado Pago. If you're not yet a member of the program, visit the page for more information. - Debug and log mode: Enable this option to allow logging of your store's activities, enabling more efficient support and better debugging of technical issues.
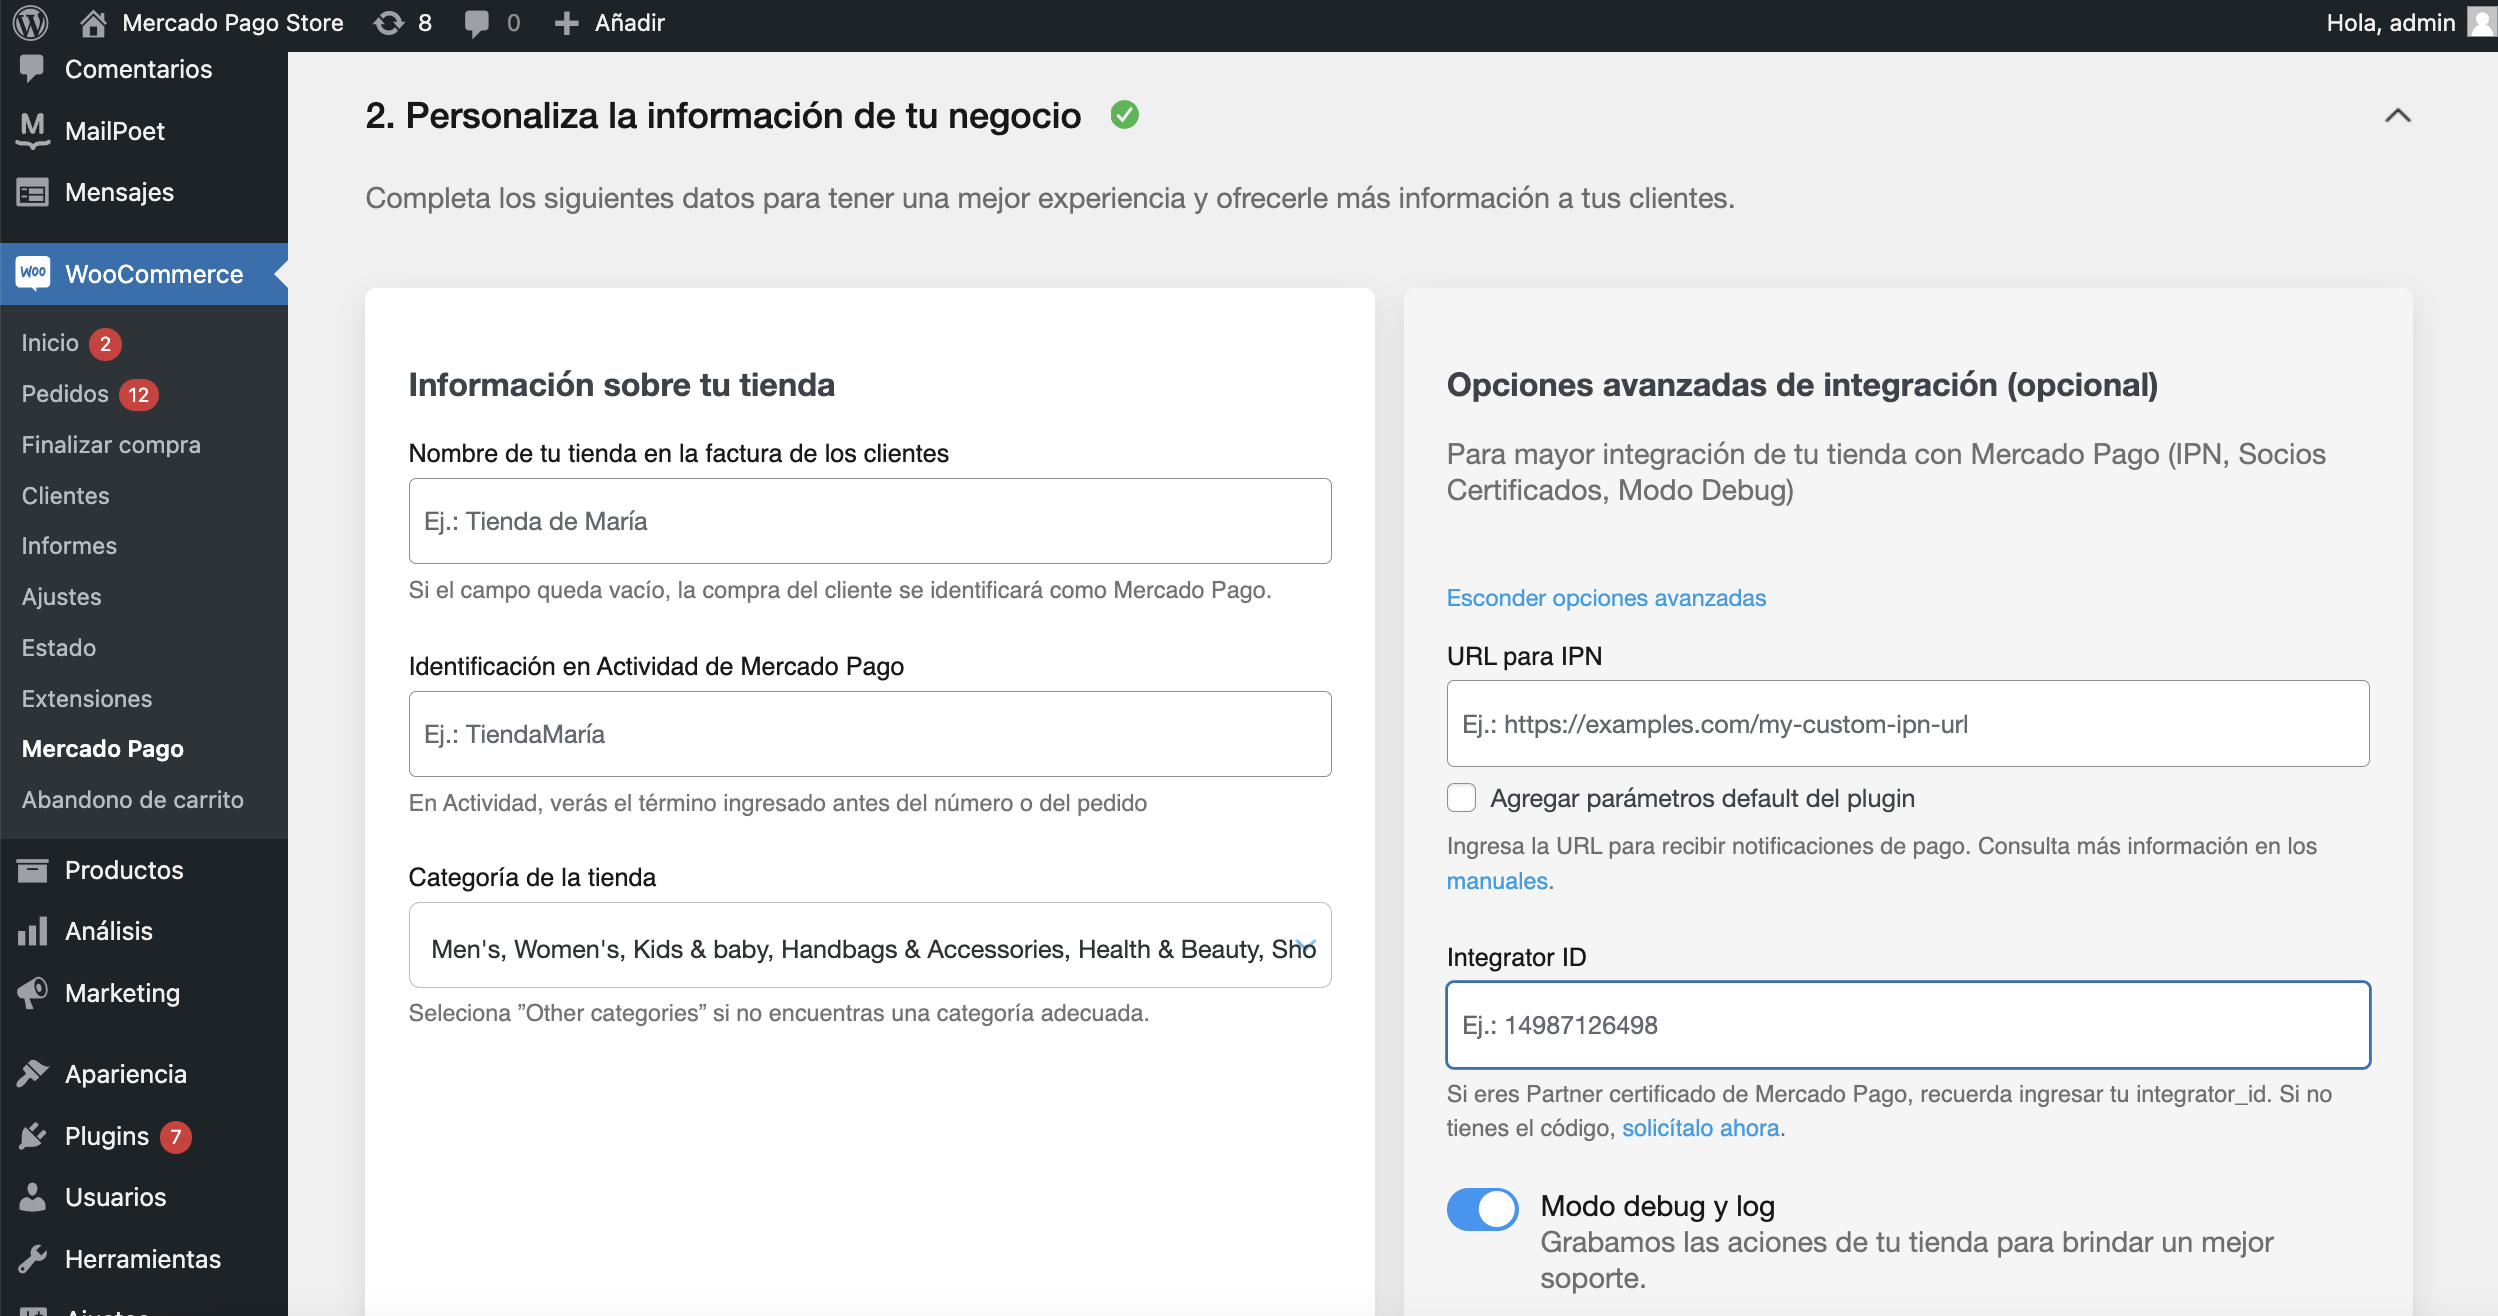
Finally, click on Save and continue.